Earth Month Matching Gift Challenge
Make your gift to fund scientific research and exploration before midnight on April 30 and help protect the ocean’s critical wildlife.
Using the power of science, exploration, education,
and storytelling to illuminate and protect
Investing in a diverse, global community of changemakers
Bold Explorers
We fund a global community of Explorers who investigate, test hypotheses, innovate, stretch their creativity, and push the boundaries of traditional thinking in ways that fundamentally change our world.
Impactful Programs
We support and cultivate a portfolio of diverse, Explorer-led programs within our five focus areas to drive impact and fulfill our mission of illuminating and protecting our world.
Connection & Education
We leverage our global expertise, platforms, and unparalleled convening power to inspire educators, youth, and future Explorers and help more people learn about, care for, and protect our world.
Responsible Stewardship
Our innovative business model allows us to invest every philanthropic dollar—100% of donations—directly to our Explorers and programs. Join us to support what matters most to you.
Mind the Water Gap
Maximizing impact
in five key areas
Revealing and protecting underwater worlds
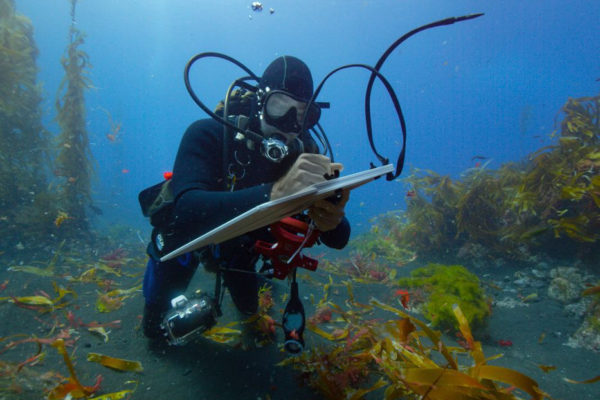
Our Explorers discover, understand, and conserve marine and coastal systems and inspire and empower local and global audiences to better understand and protect the ocean.
Preserving and protecting land environments
Our Explorers explore, understand, and conserve terrestrial and freshwater systems and inspire and empower local and global audiences to better understand and protect our lands, lakes, and rivers.
Protecting and conserving wildlife
Our Explorers inspire and empower local and global audiences to better understand and protect wildlife, including animals, plants and fungi.
Understanding our past and protecting our future
Our Explorers work to preserve cultural knowledge, better understand human histories, cultures, practices, diversity, and evolution—past and present, center communities, and inform and inspire global audiences with stories or lessons about humanity.
Supporting innovation
Our Explorers are taking novel and inventive approaches to address critical challenges and produce insights that illuminate and protect the wonder of our world.
Double Your Impact for Earth Month
Earth Day is April 22, but at the National Geographic Society, we are celebrating throughout the entire month of April. This Earth Month, you can join National Geographic Explorers as they illuminate some of nature’s most intelligent marine life and uncover the hidden wonders of our world. Donate during April, and your gift will be DOUBLED thanks to the support of generous donors. That means every dollar will go twice as far to protect the wonder of our planet.
Your impact begins today!


Supporting future changemakers
Co-founder of School of Leadership, Afghanistan (SOLA)
Meet Our Explorers
Meet Our Explorers
Our Funding Strategy
Our Funding Strategy
Cultivating an environment of opportunity, mutual respect,
and belonging
Learning from our past, examining our present, and building a more inclusive future.
We believe we can only achieve our mission to illuminate and protect the wonder of our world when people of every race, identity, experience, and ability have a role in our work. Although we have much more work to do, the Society has made strides to achieve and maintain equity.
Latest perspectives, news, and stories
Photo Credits (from top of page): Jason Gulley, Beverly Joubert, Sam Kittner, Joshua Irwandi, Chris Mbanza Schwagga, Manu San Felix, David Gill Below: Michael Nichols, Andy Mann, Paul Nicklen, Ami Vitale, Christian Tryon, Kenneth Garrett, Mark Thiessen


